When I tried to use the free version, I thought that it was easy and seemed to be able to enjoy it more than I expected. However, because the free version was not good in the picture quality so much, it was not possible to save it in the mp4 format, and various restrictions were tight, I decided to buy “Jing pro” of the paid version.
The license fee is $14.95 per year, and I decided that it is not a problem at all if the yen is strong and the price is this high.
I tried using Jing.
So I tried to use it as soon as possible. The instructions were in English, but I was able to understand it somewhat from the video available on Jing’s site above. It’s a well-made video.
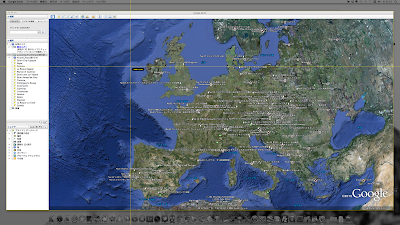
First of all, when you launch the app, you will see something like this in the upper right corner of the screen.
When you move the cursor there, the tentacles will extend, and if you select the top tentacle, the screen to select the area you want to screen capture will start as follows.
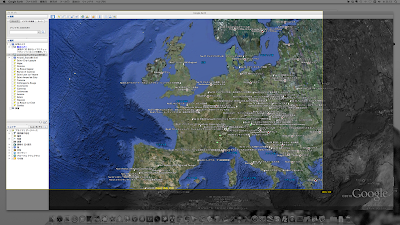
First, set the starting point and click
Next, decide the end point and click.
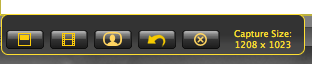
This is the end of screen selection. Next, choose whether you want a still image (screenshot) or a movie (screen capture) from the menu at the bottom right.
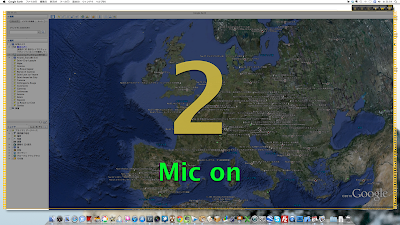
Select “capture a video” to start recording after a 3 second count.
After recording properly, press the stop button to finish. Check the preview and then save it as mp4.
Publish the filmed video on the web
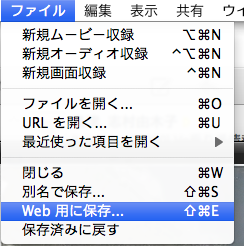
This is OK for now, but if you want to upload it to the web, launch this mp4 with QuickTimePlayer and “Save for Web”.
You can then upload the resulting series of files to an appropriate server and embed them in your blog or website by using embed tags and setting the reference to “*.mov”. That’s the video at the beginning of this article.
What I’d most like to do.
As you can see from the screenshots in this article so far and the video above, I wanted to use this feature to embed the Google Earth Guided Tour into my blog or website, which is why I installed this software.
Actually, there is a Google Earth API, but it’s too heavy to use…. On the other hand, Google Earth Pro which can create videos is too expensive… So, I think “Screen Capture” is the best for now.
By the way, what I want to do most is to create a guided tour of the most beautiful villages in France using Google Earth. Of course, I would like to record not only the guided tour itself but also the process of making it.
It’s going to take a lot of time, but I’m going to prepare for it gradually.