これも旅行準備の一環。
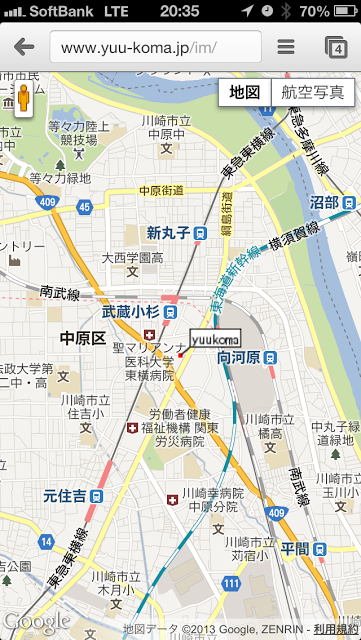
I put the proxy under my domain.
First, download Imakoko Now!
I read the README.txt in Zip and tweaked things.
ちなみに自分が使っているサーバーは、xserverさんです。
Maintenance of operating environment
First, let’s check the operating environment.
- apache 2.2.x + mod_php5
- PHP-5.2以降
- curl (PECL)
- Cache_Lite (PEAR)
The first one, “apache 2.2.x + mod_php5” was left to the server environment, but it seems to meet the requirements.
The second one “php-5.2 or later” is fine.
I’m not sure about the third “curl” either, but if I log in with ssh and type “curl –help”
So it seems to be no problem again.
The last one, “Cache_Lite”, installed PEAR, and then I could install it from PEAR’s package management screen, so I installed that PEAR first.
PEAR installation, I referred to this blog.
XServerにPEARをインストールする。 – ちぇ・ゲバ男のメモ http://d.hatena.ne.jp/revolutionary/20090309/p1
でも、後でここ見たら、既にPEARはインストール済みだったみたい…。なのでこんなことしなくても動いたのかもしれませんね(笑)
ちなみに「パスを指定する。」、僕の場合は、「php.iniで指定」する方法を選択しました。
You can change the php.ini by logging into your server panel and clicking here.
For now, at the bottom.
include_path = "/home/user_id/yuu-koma.jp/public_html/pear/PEAR"
I’ve added the following.
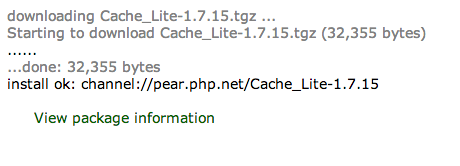
All you have to do is to go to the “Package Management” page and install Cache_Lite.
This seems to be OK.
run test
Now that the operating environment is ready, I’ll test if it works.
According to README.txt, extract the files under proxy in the zip file distributed in the appropriate directory, and modify the javascript file.
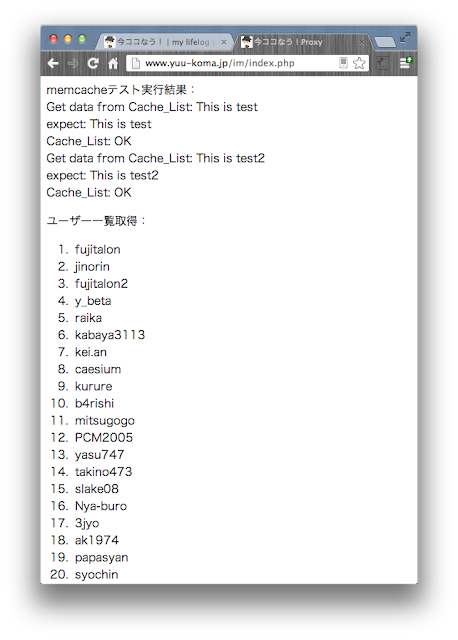
Accessing index.php, the user list is displayed without any problem.
All right, all right.
javascript to Google Map API v3 version
Basically, this is almost done, but the proxy on the Ima Koko Now! site is using Google Map API v2, so you need to change it to v3 version.
There is a person who has been making a proxy for v3 for a long time, so I copied it from his open proxy.
v3に対応したjavascript → 今ココなう! with Google Maps API v3
※ http://proxy.imacoconow.com/ さんのサイトより。
I think I changed some global variables, where to use them, and where to link images. (Please refer to README.txt for details.)
[php]
(Foreword)
var subdirectory=’/im’;
var static_file_site = ‘/im/img’;
(Omitted)
// Update process
function update() {
// Get location information.
$.getJSON(subdirectory + ‘/api/latest.php’,
{
t : new Date().getTime()
},
(see below)
[/php]
あとは実際に地図を表示するhtmlを作るだけ。これも画面いっぱいに地図が表示されるタイプがいいので、ほぼそっくりそのまま、http://proxy.imacoconow.com/ さんのhtmlを踏襲させていただきました。
It’s not really a change, but since it’s my own proxy, I set the user to only me, and since I’ll be using it when I travel in France, I set the default display position to Paris.
[php]
<script type="text/javascript">
<!–//–><![CDATA[//><!–
var use_onload=true;
var plot_mode = 1;
var plot_count = 200;
var user_list = [‘yuukoma’];
var trace_user = ‘yuukoma’;
var sensor = false;
var twitter_icon = 1;
var map_style = ”;
var map_region = [ { ‘lat’:49.080, ‘lon’:2.072 }
{ ‘lat’:48.661, ‘lon’:2.645 }
{ ‘lat’:49.080, ‘lon’:2.645 }
{ ‘lat’:48.661, ‘lon’:2.072 }];
//–><!]]>
$(function() {
initialize();
});
</script>
[/php]
In my case, I used index.html instead of view.html.
Can also be displayed in blog posts
And while I’m at it, I’ve also made the map appear on the fixed page of the blog.

This is just a javascript code added to the header.php of the WordPress theme that relates to the Now Here Now that I use in the header of index.html.
After that, you can go wherever you want.
[php]
<div id="map"></div>
[/php]
You can do this by simply writing
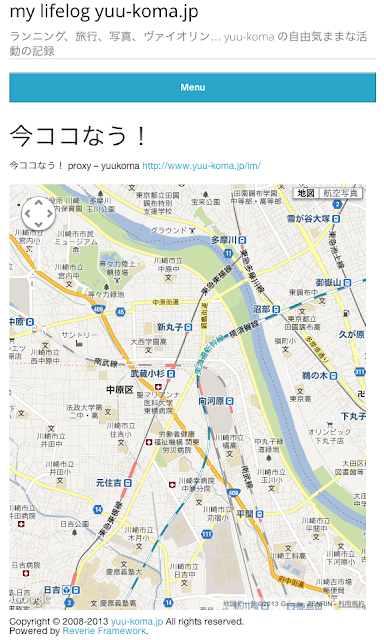
So, of course, you can embed it in a normal post.
.
↑Up like this. (I don’t think it makes much sense…)
It’s great that we can send out real-time messages on yuu-koma.jp.
Now you can show the real time track on your site when you are doing “Here Now! I can show the real time track of my trip on my site. I think it’s great that I can encourage people to access the yuu-koma.jp domain directly, even though it doesn’t get much access during the trip.
今後の課題はもう少しhtmlを独自の形に作り変えることですかね。少しずつ対応していこうと思います。


