I was absent from work for two days because of a bad cold, but I tried Adobe “Muse” which I had been wondering about for a while because I was bored even if I slept all the time.
What is Adobe Muse?
Adobe Muse is a website creation application by Adobe Systems that allows you to build websites without coding HTML or JavaScript.
The beta version is released this summer. The official version is expected to be released in the first half of 2012.
usage fee
The beta version is free to use, but the official version, which will be released next year, is paid. The official version will be released next year, and you will have to pay a fixed fee per month or per year.
But…
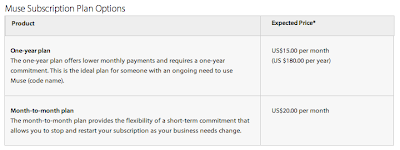

15-20 dollars per month? It’s still too expensive (laughs) I’m only using the beta version for now.
I made a web site for now.
Well, I think that the official version is expensive, but in any case, if it is a beta version, it is free and it is worth trying to use. I have been neglecting it for a long time, but this time I took advantage of the fact that I was shut in with a cold? I tried to play with it.
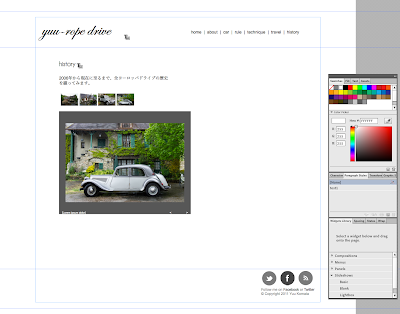
I made this site as soon as I could. (It is still incomplete.)
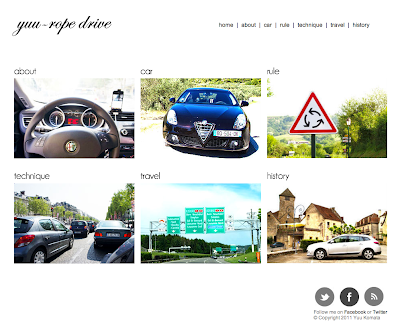
URL:http://yuuropedrive.info/index.html
I’ve been thinking about setting up a website dedicated to European driving for a while, so this was just perfect.
I’ve only made the frames, so the content is still a bit sparse. I need to improve the content and the design to make it usable, but if I use this tool for the first time in two days, I think this is the best I can do.
Muse Easy to Use Review
I’m sure it won’t be much help since it’s just a rough guide, but let’s review how to use it briefly.
Oops, let’s get one important point out of the way first.
The Muse tutorial is in English and not very good. It is quite appropriate. In other words, you have to understand it by yourself while playing around with it. However, the interface is well made. If you play around with it, you’ll start to understand how to use it.
公式ページチュートリアル(英語のみ):http://muse.adobe.com/tutorials.html
Therefore, it is recommended that you start tinkering with it with a certain degree of resignation, rather than reading and understanding tutorials before operating it.
The first step is to determine the size
So let’s start the lazy review.
Let’s start with New Site. Decide the size of the page at the beginning like this.
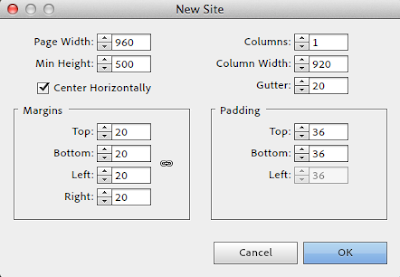
The width of “960” seems to be a rather standard number. The height may be as you like. By the way, you can change the size of the page later, so you may not have to think about it deeply at this point.
Use the Plan to determine the overall structure.
続いての作業は「Plan」、これを利用して全体の構成を決めます。

This is the process of determining the overall site map. This is a great way to see the whole picture. It’s easy to see.

I think you will know how to use it soon if you tweak it properly.
Edit Master
“Once you’ve decided on the overall structure of your page in Plan, all you have to do is design each page. Double-click on the page you want to edit, and you’ll see the
The menu bar in the upper left corner will change to “Design” and you can edit that page.

First of all, let’s edit “Master” first. This is located in the bottom row of the Plan we just created. Double-click on this one.
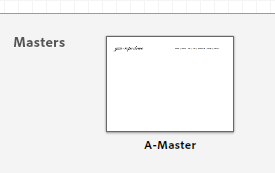
Well, it’s a master. You can make a common header and footer for all pages, so let’s do that first.
Once you’ve done that, you can edit the individual pages.
Editing individual pages
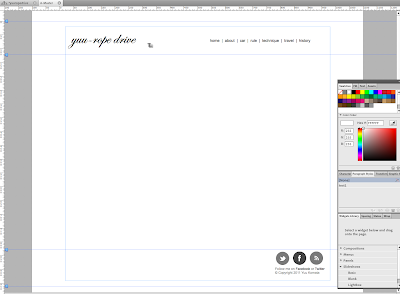
You can then create individual pages by placing photos, text boxes, and other elements as you wish.

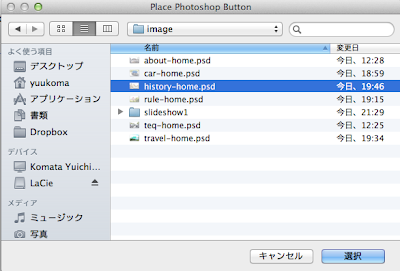
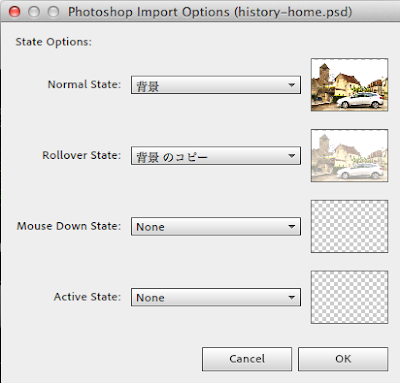
If it’s an image, you can drag and drop it into the Muse editor, or if it’s a psd file, you can insert it from the menu like this.
You can also add options. I can set a layer for each mouse action.
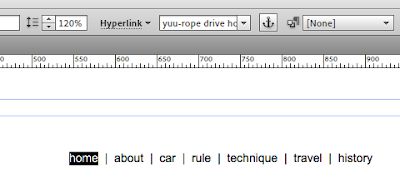
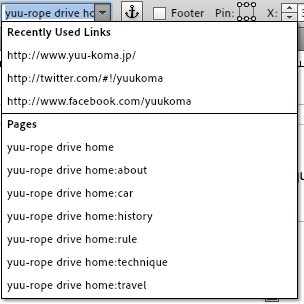
Hyperlink, this is to select an object such as an image, or drag the text in the text box, and then select the drop list “hyperlink” in the upper toolbar as appropriate. It is also possible to input an external URL.
Inserting Other Objects
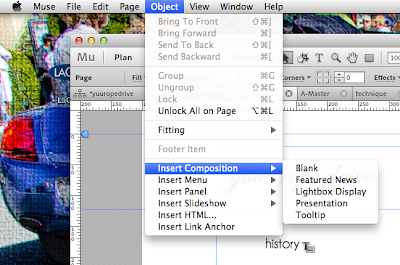
You can also insert various other objects.
Lightboxによるスライドショーなども挿入できます。とりあえず下記図のように「Object」を選んで適当にそれっぽいものを選ぶと挿入できました。
Anyway, there’s no better way to tweak things.
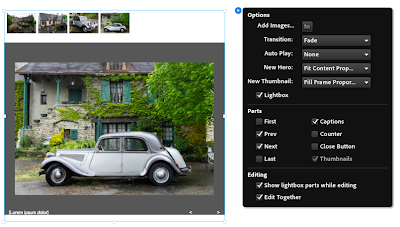
You can also insert menu bars, accordion bars, etc. Please try it.
Insert YouTube
What was interesting was the way to insert third party objects like YouTube. For example, I copied this code from YouTube, and then

If you paste it in the appropriate part of the Muse editor, it will automatically process it and a YouTube object will appear.

This is easy.
Preview
The site you are creating can be previewed in the app.

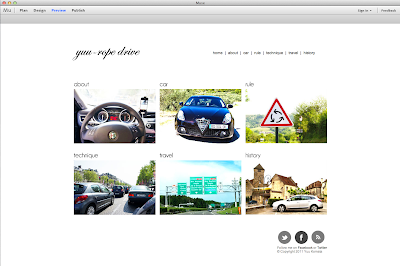
It’s pretty smooth and easy to use.
Exporting HTML
Naturally, this is also easy to do.
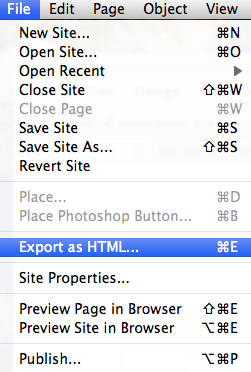
Naturally, the image files are also exported for the site, so you can immediately publish your site by FTPing the entire set of exported files & folders to the server.
Summary, Impressions, etc.
You certainly don’t have to code anything at all. As an overall impression, I thought it was quite comfortable to use because it can be used intuitively without much prior knowledge. There was some confusion at first, but it’s good that you can learn how to use it naturally by using it and moving it around.
However, because it is a beta version for now, it is free, but it is uncertain how far there is a need for use when an official version comes out and it becomes paid. At least, I do not think that it is for individual use in this charge system.
ということでまとめますと、「直感的に使えてかなり便利、ただ値段が気になる」、そんなところです。とりあえずタダな間は重宝したいと思います。